Best DIY Chicken Feeder – Easy, cheap, and low waste!
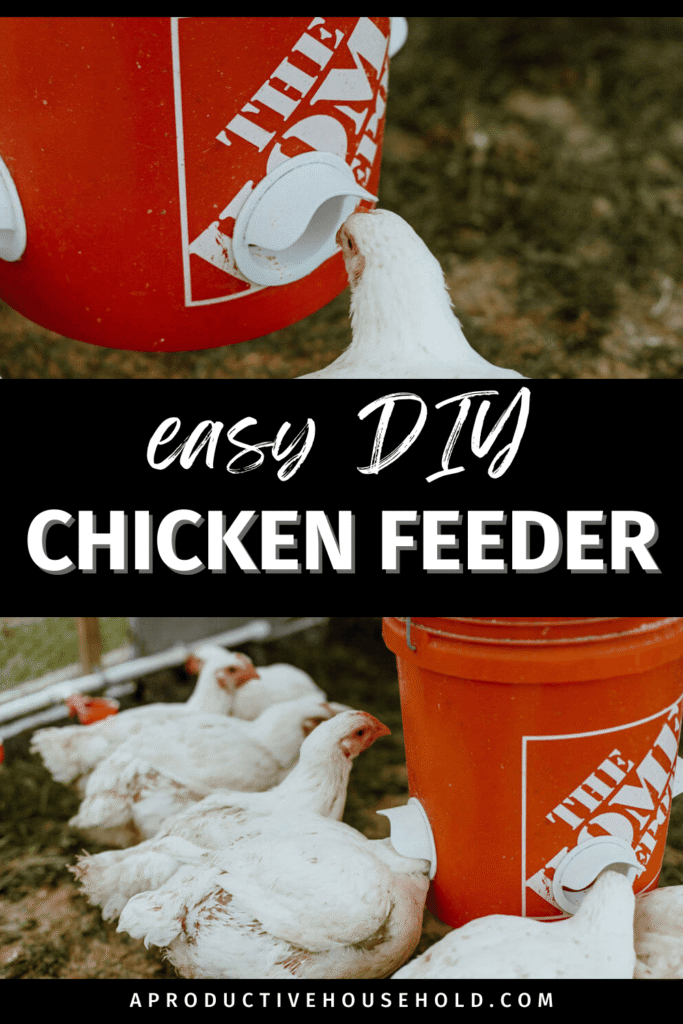
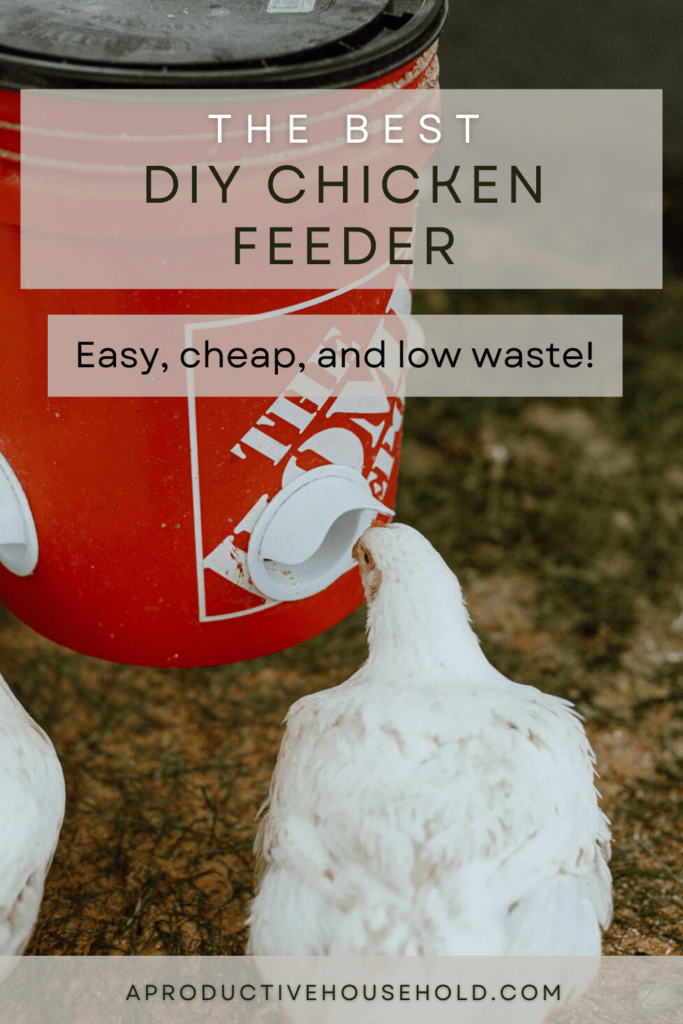
Making your own DIY chicken feeder can be a great way to save money, but that’s not even the reason that we did it! We’ve found that using our 5-gallon, DIY gravity chicken feeder is actually a lot more practical than the store-bought feeders that we’ve used in the past. Our homemade chicken feeder holds a lot of feed at once, doesn’t allow the chickens to waste feed like other designs do, and can be made in 15 minutes or less!
This simple chicken feeder design has been the perfect feeder for our flock. Unlike other DIY feeders, it also comes with an easy way to cap off the feed if needed. So when we have our Cornish Cross birds in the chicken tractor (who can only eat for 12 hours per day – or they’ll get too big!), it’s a breeze to go out and cap their feed off at night and then uncap it in the morning.
We hope this easy and functional chicken feeder makes your chore times a little easier!
This post contains affiliate links, which means that we make a small commission at no extra cost to you. You can view our full disclosure here.
Benefits of a 5-Gallon Bucket Chicken Feeder
1. It’s quick to make
This feeder is super simple to make. Essentially, all you need to do is drill four holes into a 5-gallon bucket, place the inserts inside, hang it up, and fill up your bucket with feed! Once you have the materials on hand, you can make this feeder in just 15 minutes or less.
2. It’s inexpensive
This DIY chicken feeder costs about $25 to make, which means it’s a little less expensive than the similar store bought models. BUT, it far exceeds them with it’s other benefits – less feed waste, rain-proof, and it keeps pests out! It more than pays for itself with these benefits!
3. It doesn’t make a mess
This isn’t the only way to make your own feeder, but we think it might be the best way! The design of the feeder keeps all of the feed inside, and the chickens actually have to stick their heads into the bucket to peck at the food. This means that they can’t scratch at it and spill feed and spread it all over the ground (as chickens do!).
One common DIY chicken feeder that’s similar to this design uses an aluminum pan to collect the feed at the bottom. While the aluminum pan option is a little cheaper, it’s a lot easier for the feed to get wasted. In the long run, the few extra bucks you spend on the kit for this DIY no waste chicken feeder will be quickly recuperated in the amount of chicken feed that doesn’t go to waste.
4. It holds a lot of feed
A major benefit of this simple design is that it holds a lot of feed, so you don’t have to go adding to your feeder multiple times a day. In fact, we only have to fill this feeder for our flock of 25 birds about every 2-5 days (depending on their age and size). It’s so helpful that the feed lasts for a longer amount of time, even for larger flocks!
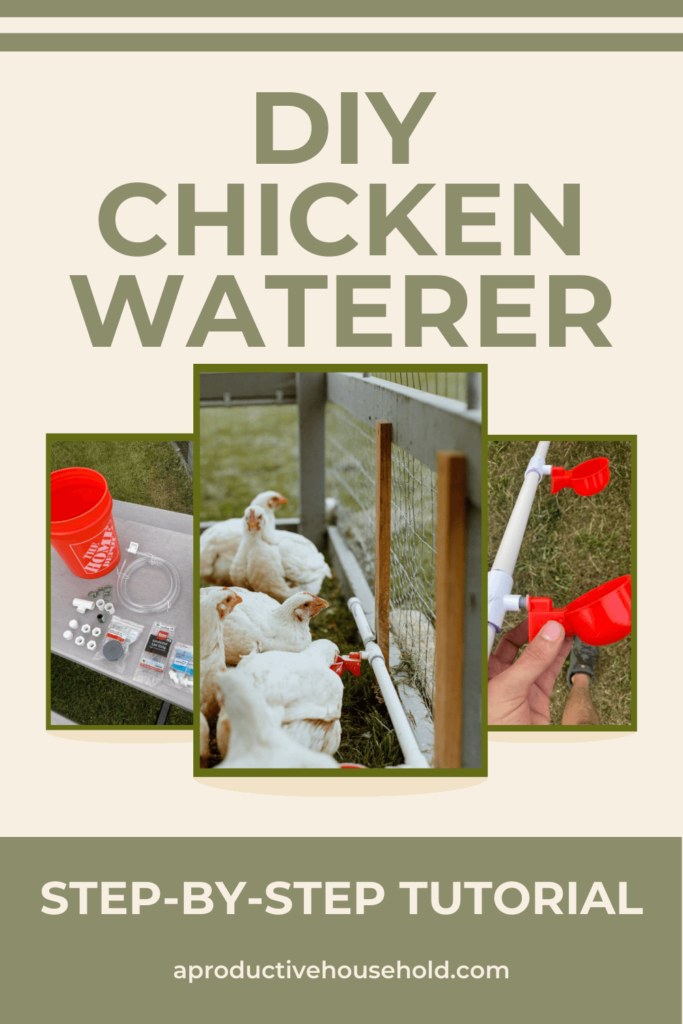
(Paired with our DIY chicken waterer, which can hold our chickens over with clean water for 3-4 days, chore time is really simple most days!)
The easiest way for us to add feed is usually just to take the 50-pound bag out to the coop and dump about half of it into the top of the feeder. A 5-gallon bucket holds about 25 pounds of feed.
This also makes the gravity feeder method great for if we need to go on vacation and leave our chickens for a few days. It’s super easy to find someone to do chores when they don’t have to worry about making sure there’s enough feed morning and night.
If you have a very large flock of birds, you could also just replicate this design and have more than one feeder.
5. You don’t have to worry about rain
This feeder is rain proof! Because the feed always stays inside the bucket, you don’t have to worry about it getting wet and ruined in the rain. And the openings face down, so no rain can get inside.

No more running outside when you hear the raindrops coming!
Supplies You’ll Need
You only need a few simple tools and supplies to make this easy chicken feeder. You’ll need:
- A 5-gallon bucket with a lid. You can get one for about $5 at Home Depot or Tractor Supply (or any local hardware store). Or, if you want to save a few bucks, you can even use a square plastic bucket you have a hand, like an empty cat litter bucket.
- Suplklz DIY Chicken Feeder Port Kit. This kit runs about $20 and it’s worth every penny. It comes with the hole saw that you’ll need to install the ports, so all you need is a power drill and you’re good to go. The cost of this kit is totally offset by how much money you’ll save on feed, since it keeps the feed safe from scratching, wasteful chickens, pests, and rain!
- A power drill.
- (Optional) A way to mount the bucket. Although you can set your feeder on the ground, we opted to hang it up to keep it in place and keep it from tipping over. (Although it’s heavy when full, the chickens could easily knock it over when empty.) We used a 6′ metal chain to string through the bucket handle and hang up on a nail on the 2×4 at the top of our coop. You could also use a rope to do this! We use a portable chicken tractor, so since it’s hanging, the feeder bucket just moves along with the coop when we pick it up and move it every couple of days!
How to Make a DIY Chicken Feeder with a 5-Gallon Bucket
This style of feeder is so simple to make, you can do the whole project in just 4 steps (including adding the feed for your birds)!
Step 1: Drill holes evenly around your bucket
The first step is to use your drill and the included hole saw to drill holes evenly around your bucket, with the bottom of the hole falling about an inch or two from the bottom of the feeder bucket. These will give your birds easy access to the feed through the ports.
We purchased the 4-port kit for our 5-gallon bucket, and it worked well for our 25-bird flock. But, there is an 8-port kit option as well.
Step 2: Install the plastic feed ports
Now that you have your holes drilled, go ahead and install the plastic feed ports. You’ll need to install the O-ring and then fit your ports in from the inside of the bucket. Then, just tighten the locknut and proceed to the next one until they’re all in tightly.
Step 3: Mount your bucket (optional)
This step isn’t absolutely necessary, but it’s a good idea to mount your bucket to your chicken coop somehow to prevent your birds from knocking it over when it’s light on feed. You can wrap a rope or chain around the handle of your bucket and then tie or otherwise secure it to a board or hook on the ceiling of your coop.
This gives you a no spill chicken feeder that can’t be knocked or dumped by chickens or predators! And not only does this mean that you waste less feed from spills, but it also keeps your bucket out of chicken poop on the floor of your coop.
Alternatively, if you don’t want to mount your bucket, you can set it on a cinder block instead to help keep it sturdy.
Step 3: Fill the bucket with feed and add the lid!
You’re ready to feed your backyard chickens! The last step is just to dump in your feed (a 5-gallon bucket holds about 25 pounds) and add the lid.
The beauty of this automatic feeder design is that as the chickens take feed from the bottom of the bucket, gravity just lets the rest drop, so you don’t have to worry about dumping in smaller buckets every day.

Congratulations! You’ve made your own chicken feeder!
FAQs
How much does it cost to make a 5-gallon bucket feeder?
This DIY feeder is made using just a 5-gallon bucket and a chicken feeder port kit. If you buy both of these new, it will cost about $25 to make this practical feeder. If you already have a bucket on hand (even something like a cat litter bucket would do), you can bring the cost down even more.
You will also need a power drill to make your feeder, but the port kit comes with the hole saw drill bit, so don’t worry about that part!
How much feed does a 5-gallon bucket hold?
This 5-gallon bucket design holds about 25 pounds of chicken feed. With this feeder system, small flocks can go many days without needing their feed refreshed. Having a DIY automatic chicken feeder is an excellent way to save on chore time!
How long does it take to make a DIY chicken feeder?
Using the 5-gallon bucket and port kit method, you can make your own, no waste chicken feeder in less than 15 minutes.

What kinds of chicken feed can a 5-gallon bucket feeder take?
We use a layer mash in our DIY feeder, but pellets and other chicken feed combinations work just as well with this system. The port holes are plenty big enough to fit larger pieces of feed, but this no waste feeder also does perfectly fine with a finer mash. We notice VERY minimal spillage from our birds.
Whatever you normally get from your feed store will do just fine with this no spill feeder option!
What’s the best way to store extra chicken feed?
If you have the ability to store your chicken feed indoors in a barn or garage, that’s the best way to protect it from pests and weather. However, there are ways to keep your chicken feed safe outside even without a building available. Metal canisters are a great way to store extra chicken feed and keep it safe from pests, either indoors or outdoors. A plastic tote can also work, but may be more susceptible to heat and pests, so be sure to check on it often.
If you’re going to be storing feed outside, it’s best to keep it away from the sun to prevent overheating and spoiling. In addition, it possible, keep your container off the ground to prevent moisture from seeping in. Concrete pavers work well for this!
What other DIY chicken feeder ideas work for backyard chickens?
A DIY pvc chicken feeder is another popular DIY project for chicken owners. The pvc pipe feeder option is basically a long tube that also allows uses gravity to refill as the birds take from the bottom of the feeder.
These tubular feeders are made with various lengths of pvc drain pipes, pvc elbows, threaded caps and adapters, screws, and pvc pipe cap.
Many chicken owners like the pvc feeder option for their ability to keep pests and bugs out, prevent food waste, and because if you make a few of them, they can hold a significant amount of feed at once.
The downsides of the pvc chicken feeder ideas we found are that they are more expensive and take a lot of time to make compared to the 5-gallon bucket option. In addition, feed sometimes get stuck in the pipe elbows and not make it to the open end of the feeder. And if the seals aren’t very tight (which often requires glue or caulk), it’s not too hard for rain to seep in to the pvc, causing the feed to clump and get stuck. Some people also say that they allow the chickens to waste too much food.
If you want a quick, easy, inexpensive rain-proof chicken feeder project that doesn’t waste feed, we think that the 5-gallon bucket port system is the best chicken feeder around!
Why not just buy a chicken feeder new?
You totally can! A hanging poultry feeder that holds a similar amount of chicken feed usually runs at right around the same cost as this project (of course, prices fluctuate everywhere, but it’s close). The only downside of buying a new feeder that’s similar is that the store bought designs usually allow more spillage. And they don’t protect well from pests. Or rain. (So, a couple downsides!)
A treadle feeder is another option you can buy that solves these problems. These feeders open and close with the chicken stepping on and off, so they help prevent waste, pests, and rain. However, most start around $100 (and some run much higher).
Can you make a DIY chicken waterer?
Yes! We made our gravity DIY chicken waterer with PVC and a 5-gallon bucket. The water lasts for days, it doesn’t get dirty easily, and it can move along with our chicken tractor. The chickens have fresh water for days and it’s super easy to fill with the hose when the 5-gallon bucket runs out.
Have a Moment to Share?
Sharing this post helps more people to see it. We’d love it if you’d share this post on Pinterest! ⬇️
